Ruffled Ribbon Pillow
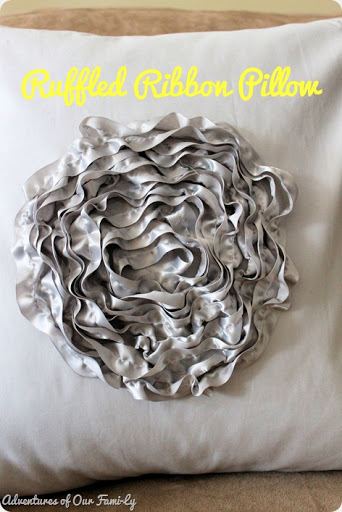
If you’ve been anywhere near Pinterest or the blogosphere lately you’ve noticed an explosion of different cute pillows lately.
This darling thing from DIY Maven was my main inspiration. My pillow is very similar except I used a ribbon to make the ruffle opposed to the fabric ruffle she made. My flower is also a bit looser in it’s formation.
Here’s the how-to for my ruffled ribbon pillow:
What you’ll need (per pillow):
- 1-2 yards of fabric (depending on your pillow form size you may need more or less)
- 1 spool of satin ribbon (12 feet)
- Matching thread
- Sewing machine
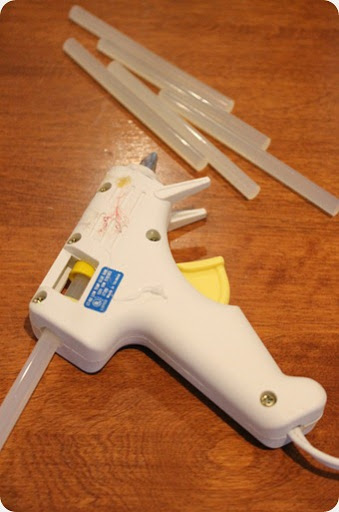
- Hot glue gun and glue sticks
My favorite type of pillow cover is a three flap removable cover. I love the option of being able to mix and match pillow covers, so this removable cover makes that an easy possibility.
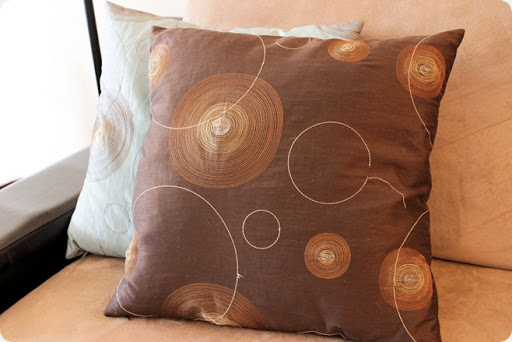
I wanted to cover some pillows I got for our wedding. I think they’re cute but the threading was starting to come out and I didn’t think they had long to live.
To make your pillow cover measure the height and width of your pillows and then add 1 inch to each measurement to allow for 1/2 inch seam allowances.
For example, on mine-
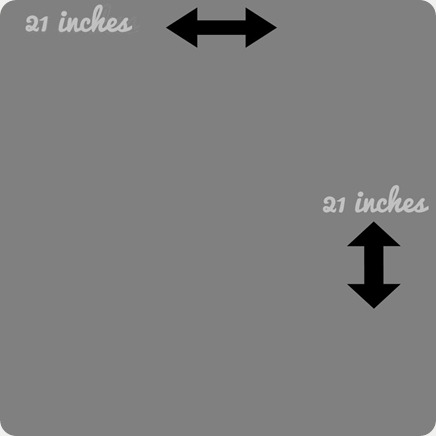
Height: 20 in + 1 inch=21 inches
Width: 20 in + 1 inch=21 inches
To make the 3 panel pillow, I cut one square that was 21’ x 21’ (sorry I didn’t take pictures of this part. I had only planned on showing the how-to for the ruffled flower part. Now I’ve changed my mind and want to show how to make the actual pillow case so here are graphics to illustrate!)
The second square was 21’ tall but 26’ wide. This allows for about 5 inches of over lap in your panels.
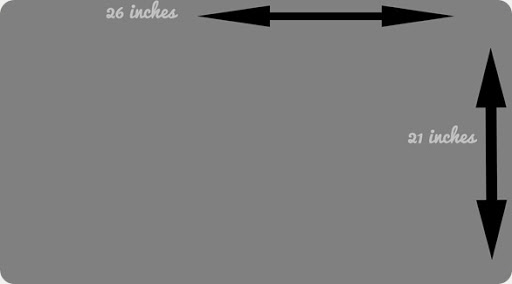
Take your wider panel (mine was 21’ x 26’) and cut it down the middle height wise.
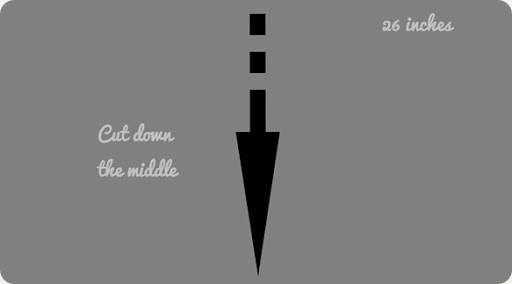
Then, take each of your panel halves and fold the cut inside edges down 1/2 inch. Iron, pin, and hem the edges.
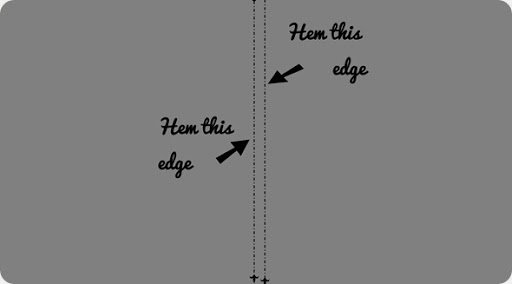
After the inside edges have been hemmed, place them over your 21’ x 21’x square, right sides facing each other. Match the end of each panel to the the 21’x 21’ square and they will overlap in the middle.
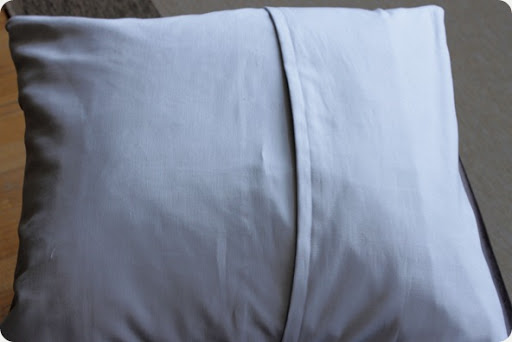
In the picture below I already had sewn around the entire pillow, but you can see the overlap on the two flaps.
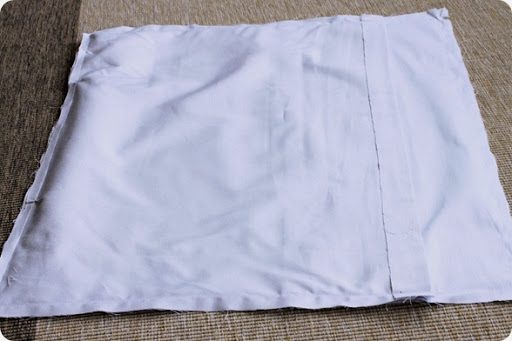
Pin around the outside of the entire pillow case and sew with a 1/2 inch seam allowance.
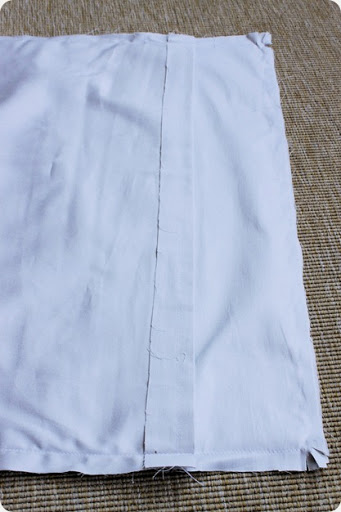
Then, snip into the corners for a better corner when you turn it right-side-out.
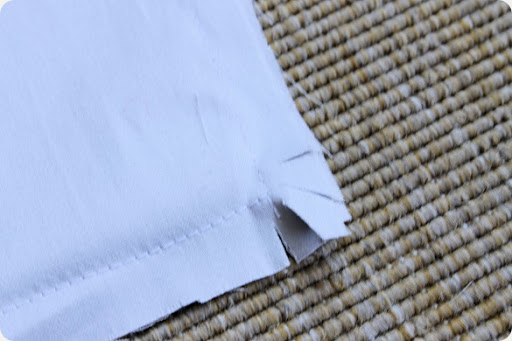
Turn right-side-out, and you have a pillow case!
To make the ribbon ruffle:
Set your sewing machine to the longest stitch possible (a 4 on my machine) and adjust the tension between 3-4.
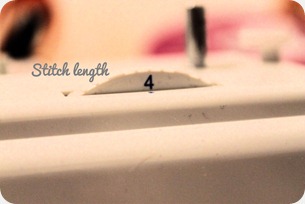
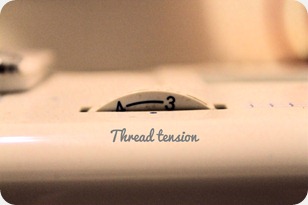
Then stitch a continuous straight stitch down the entire ribbon slightly off center.
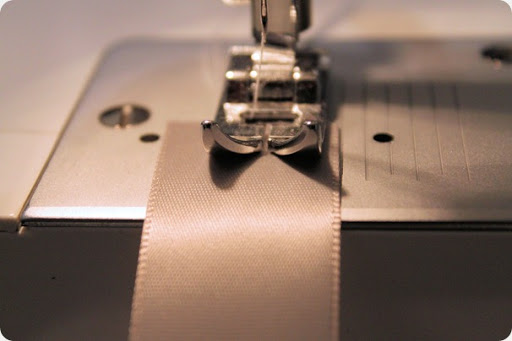
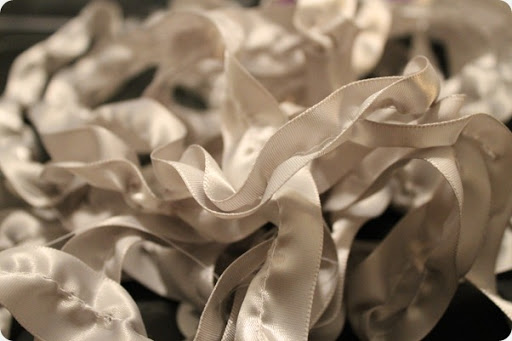
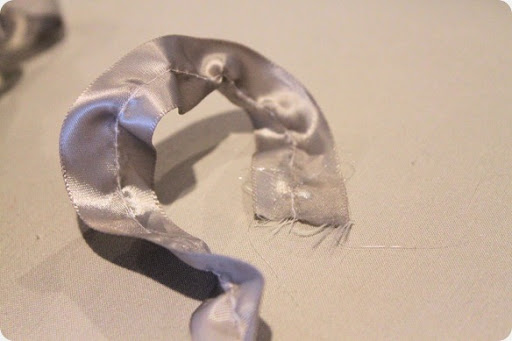
You’ll end up with a pile of ribbon that looks like this:

Then, take the top thread hanging from the end of the ribbon and pull gently. This will cause the ribbon to start to ruffle
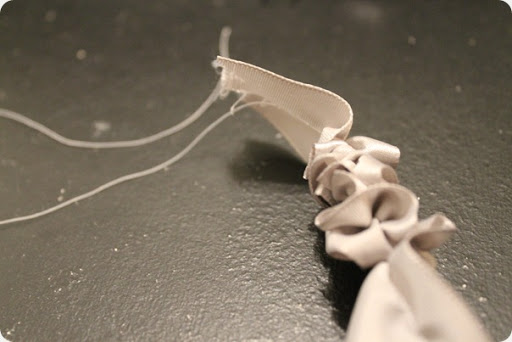
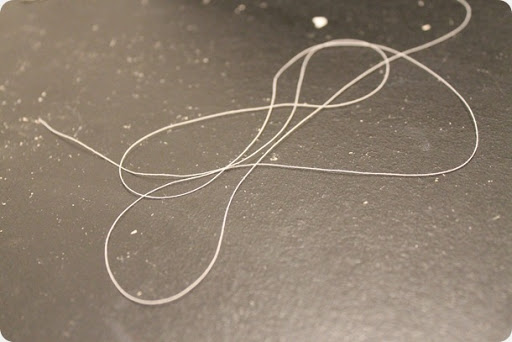
Since your ribbon is really long, you will slowly and gently have to work the ruffle down. My method was to pull the thread and push the ruffle down as far as it would go, then pull the thread again and repeat. Once you’ve ruffled the entire ribbon you’ll have a super long thread hanging off the end, snip.
Now it’s time to heat up that glue gun!
Lay your pillow cover down on a flat surface and find the center. I marked the center with a vanishing ink fabric pin.
Take one end of the ruffled ribbon and hot glue it to the center of the pillow case.
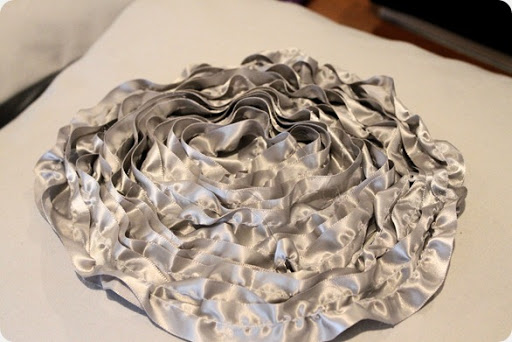
Start coiling the ribbon around itself, hot gluing every 2-3 inches.
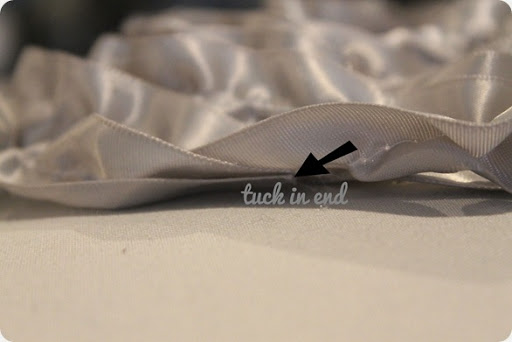
To finish, tuck the end of the ribbon under another layer of ribbon and hot glue.
And that’s it!!! Put your pillow back into the case and you have a beauty just waiting for compliments!
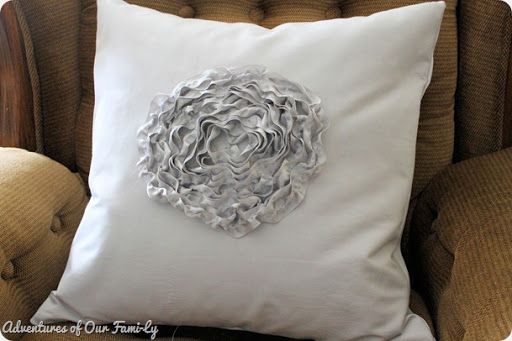
Here it is again close-up:
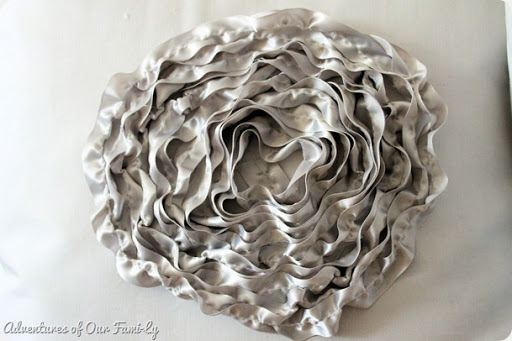
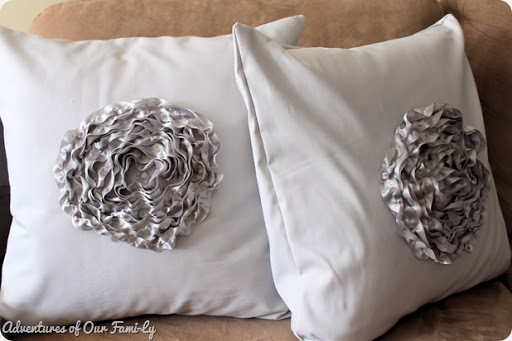
I actually made two of these. If you’re going to make two I suggest laying your finished flower case next to the once you are working on so they are relatively close in size and shape.
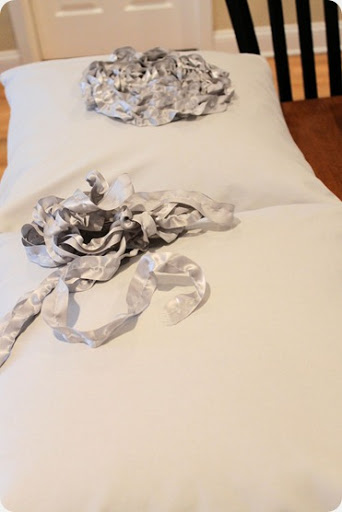
A few more shots of my two new living room cuties:
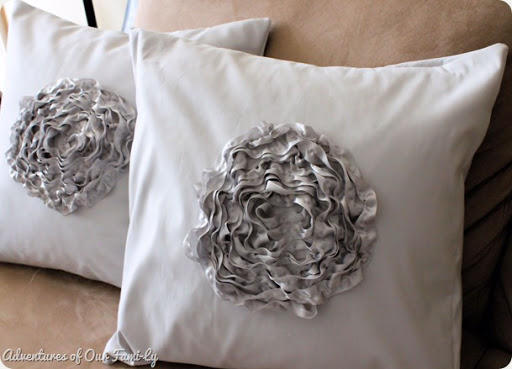
I’m quite pleased with how they turned out and how they look in my living room!
Who new a little ribbon and hot glue could be so cute?

Leave a Reply