DIY Baby Bibs
And…I’m BACK! I have been quite the slacker blogger as of late. In my defense I’ve been helping reno a basement…
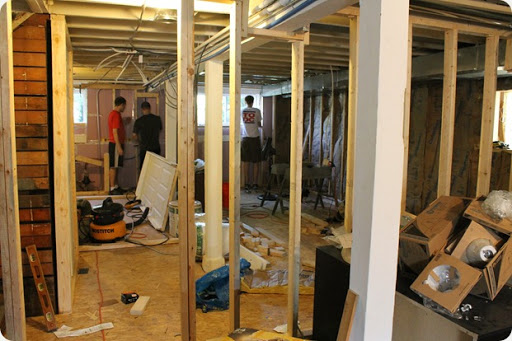
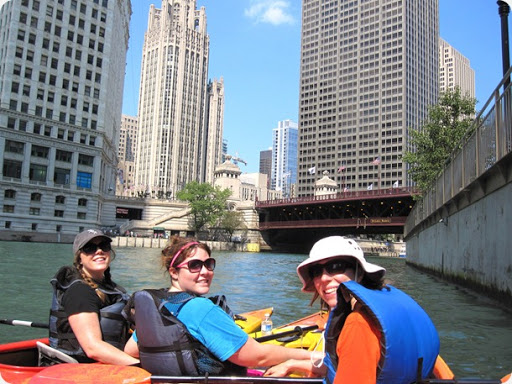
…and gallivanting around Chicago with family. (Posts on both to come!)
But today I’m going to share my first attempt at sewing an article of “clothing”, a baby bib. It was SUPER easy and FAST! From start to finish I was done with this project in 30 minutes, easily.
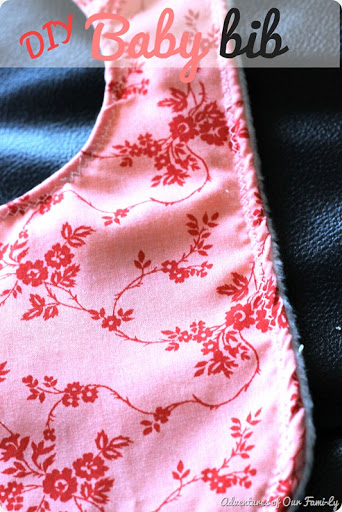
I made this bib for my friend, Kirra, who just gave birth to a perfectly beautiful little girl, Eliana. You can see more of the gifts I made her for her baby shower here.
To make a bib you’re going to need:
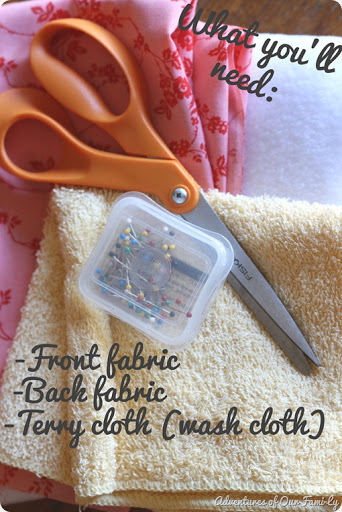
*You will also need a sewing machine and matching thread*
Step 1: Make a Pattern
I didn’t have a pattern for a bib, so I just took some newspaper and one of my nephew’s bibs to make one.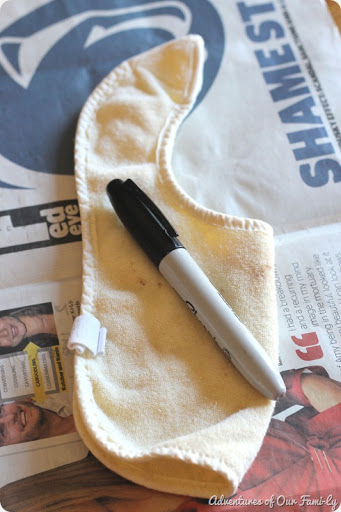
*If you don’t have another bib on hand, just free hand draw this step*
Fold the bib in half, trace it onto the newspaper, and cute it out. Voila! A lovely little pattern.
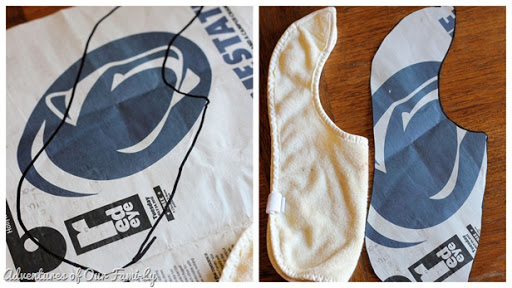
You’ll notice in the picture above that my pattern is slightly larger then the bib I traced. I just traced 1/4 inch outside of the bib to allow for a seam allowance.
Step 2: Trace pattern and cut fabrics (fold fabrics in half first)
Pin your pattern to your folded front fabric (I used a cotton print), folded back fabric (I used a piece of fleece), and folded terry cloth (I used a washcloth I had from another craft) and cut.
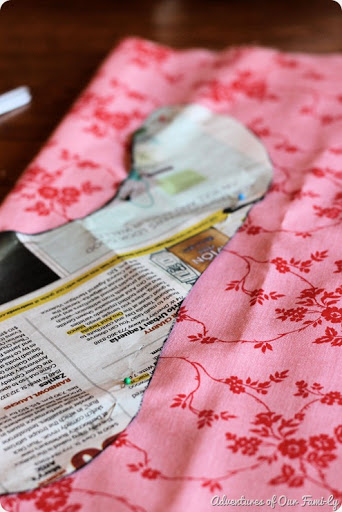
Be sure to pin the pattern so it lines up with the folded edge of your fabric.
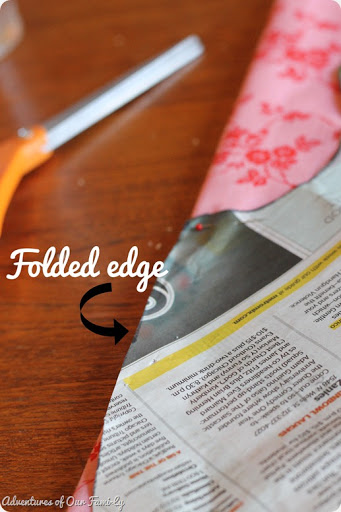
Step 3: Layer and pin fabrics
Once your three fabric have been cut, layer them in the following order:
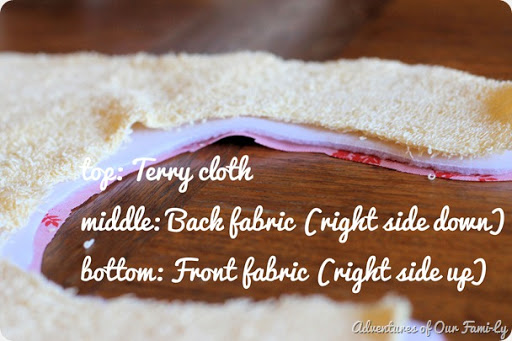
Line up the fabric edges, and pin.
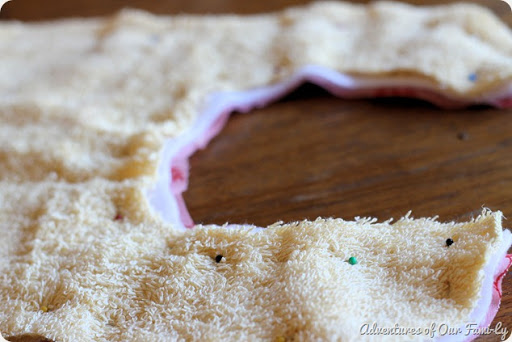
Step 4: Sew perimeter of bib (leaving 3 inches open)
Take your bib pieces to the sewing machine, and sew around the perimeter.
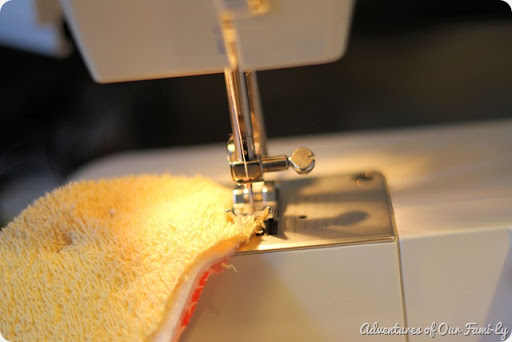
Be sure to leave about 3 inches open so you will be able to pull the bib right-side-out.
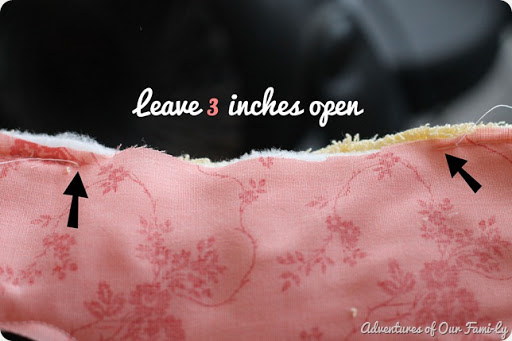
Step 5: Turn bib right side out and top stitch around
Lastly, turn the bib right side out so that the terry cloth layer is between the front and back fabrics (this will help absorb all those messes).
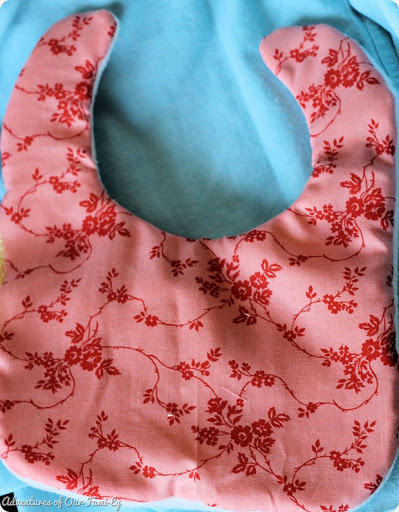
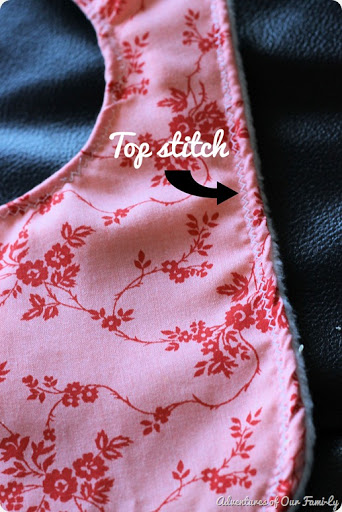
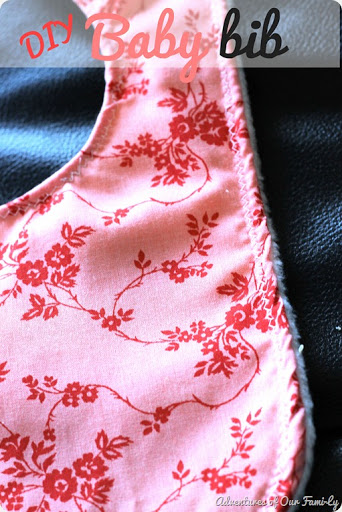
Iron the bib flat, then top stitch around the perimeter, closing up the space you left open. The top stitch can be any stitch you want, I used a zig zag.
Step 6: Sew on Velcro tabs
*Totally forgot to take pictures of this step* Sew small Velcro tabs on to the top of the bib. Remember to sew one piece on the front side of the bib, and one on the back so they will overlap when placed around baby’s neck.
Step 7: Give it to the cutest baby you know ![]()

Leave a Reply