Ruffled Ribbon Pillow
IMG_1771

If you’ve been anywhere near Pinterest or the blogosphere lately you’ve noticed an explosion of different cute pillows lately.

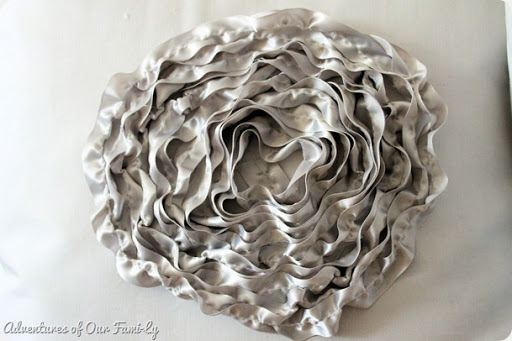
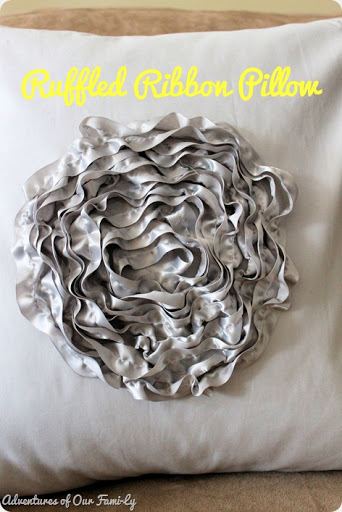
This darling thing from DIY Maven was my main inspiration.  My pillow is very similar except I used a ribbon to make the ruffle opposed to the fabric ruffle she made.  My flower is also a bit looser in it’s formation.

Here’s the how-to for my ruffled ribbon pillow:
What you’ll need (per pillow):

  • 1-2 yards of fabric (depending on your pillow form size you  may need more or less)
  • 1 spool of satin ribbon (12 feet)
  • Matching thread
  • Sewing machine
  • Hot glue gun and glue sticks

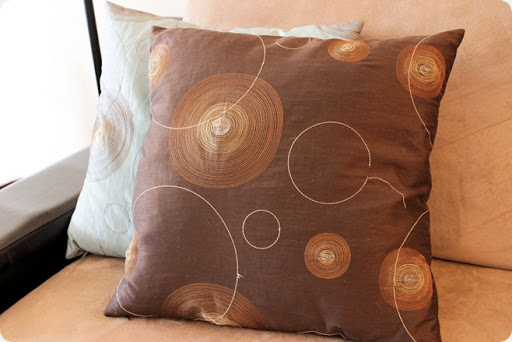
My favorite type of pillow cover is a three flap removable cover.  I love the option of being able to mix and match pillow covers, so this removable cover makes that an easy possibility.

I wanted to cover some pillows I got for our wedding.  I think they’re cute but the threading was starting to come out and I didn’t think they had long to live.
IMG_1667

To make your pillow cover measure the height and width of your pillows and then add 1 inch to each measurement to allow for 1/2 inch seam allowances.

For example, on mine-
Height: 20 in + 1 inch=21 inches
Width: 20 in + 1 inch=21 inches

To make the 3 panel pillow, I cut one square that was 21’ x 21’ (sorry I didn’t take pictures of this part.  I had only planned on showing the how-to for the ruffled flower part.  Now I’ve changed my mind and want to show how to make the actual pillow case so here are graphics to illustrate!)
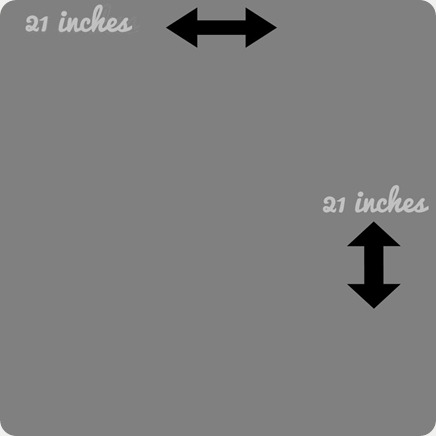
Image1
The second square was 21’ tall but 26’ wide.  This allows for about 5 inches of over lap in your panels.
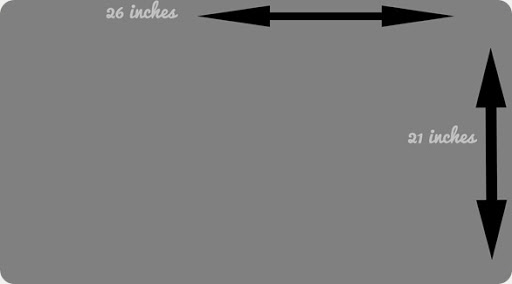
Image2
Take your wider panel (mine was 21’ x 26’) and cut it down the middle height wise.
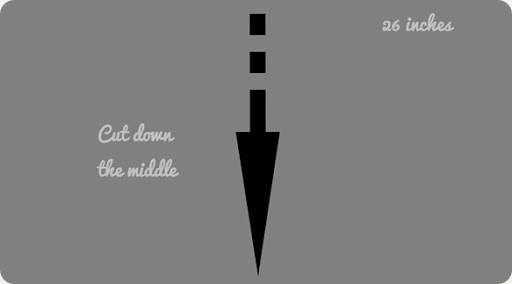
Image3

Then, take each of your panel halves and fold the cut inside edges down 1/2 inch.  Iron, pin, and hem the edges.
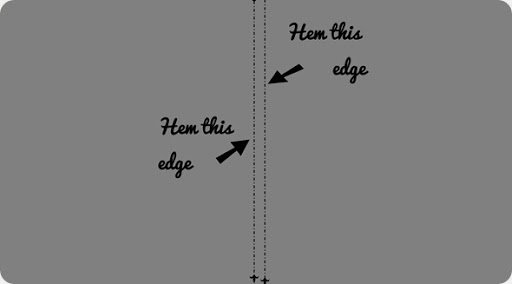
Image4

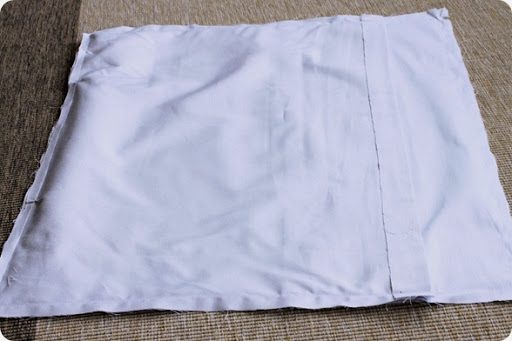
After  the inside edges have been hemmed, place them over your 21’ x 21’x square, right sides facing each other.  Match the end of each panel to the the 21’x 21’ square and they will overlap in the middle.
In the picture below I already had sewn around the entire pillow, but you can see the overlap on the two flaps.
IMG_1716

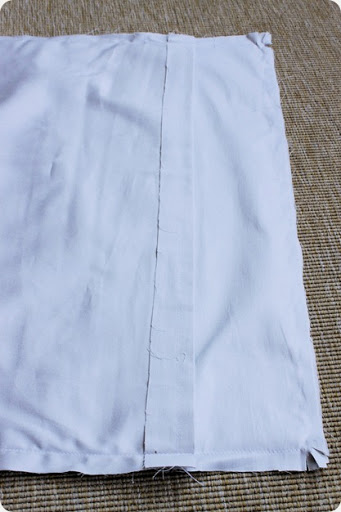
Pin around the outside of the entire pillow case and sew with a 1/2 inch seam allowance.
IMG_1717

Then, snip into the corners for a better corner when you turn it right-side-out.
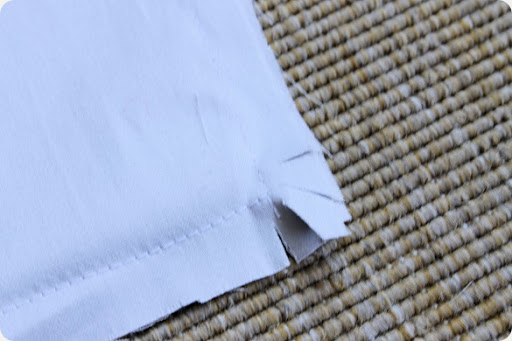
IMG_1719

Turn right-side-out, and you have a pillow case!
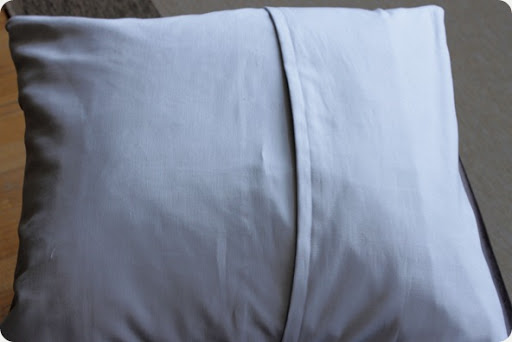
IMG_1721

To make the ribbon ruffle:
Set your sewing machine to the longest stitch possible (a 4 on my machine) and adjust the tension between 3-4.
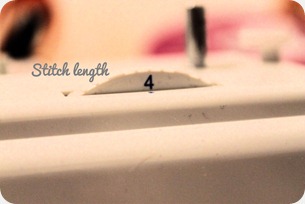

IMG_1726  IMG_1727

Then stitch a continuous straight stitch down the entire ribbon slightly off center.
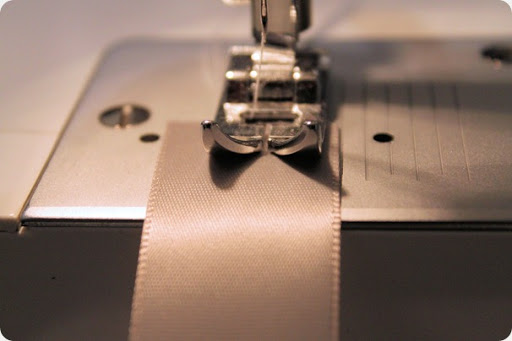
IMG_1728

Excuse the strange coloring on the ribbon.  Those darn sewing machine lights don’t provide flattering light!

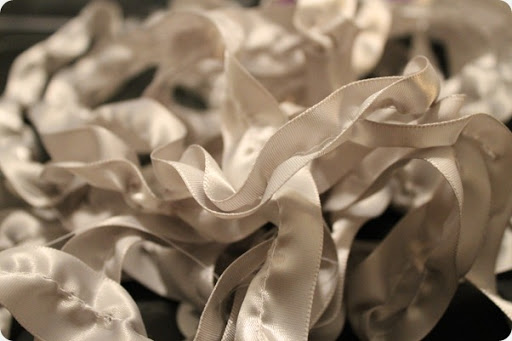
You’ll end up with a pile of ribbon that looks like this:
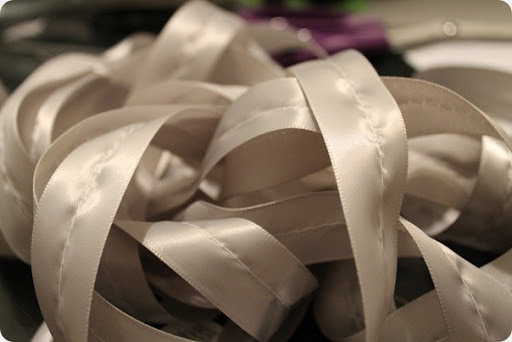
IMG_1731

Then, take the top thread hanging from the end of the ribbon and pull gently.  This will cause the ribbon to start to ruffle
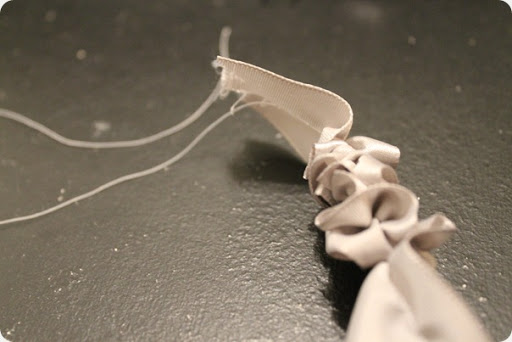
IMG_1732

Since your ribbon is really long, you will slowly and gently have to work the ruffle down.  My method was to pull the thread and push the ruffle down as far as it would go, then pull the thread again and repeat.  Once you’ve ruffled the entire ribbon you’ll have a super long thread hanging off the end, snip.
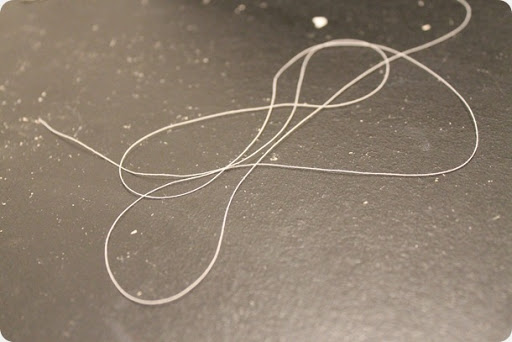
IMG_1734

Yuck! Please ignore the super dirty work table.
You’ll now how a big pile of ruffled ribbon:
IMG_1733

Now it’s time to heat up that glue gun!
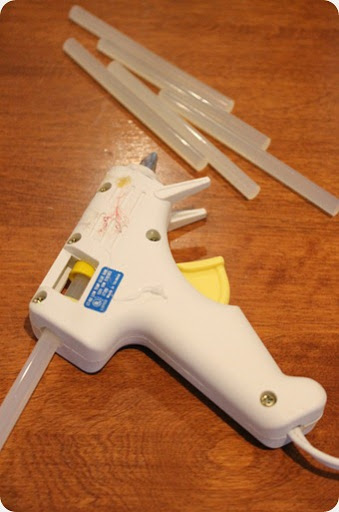
IMG_1736

Lay your pillow cover down on a flat surface and find the center.  I marked the center with a vanishing ink fabric pin.

Take one end of the ruffled ribbon and hot glue it to the center of the pillow case.
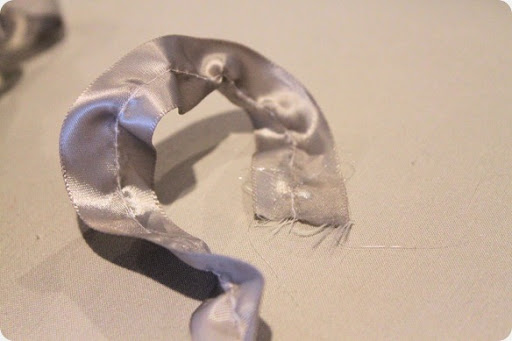
IMG_1755

Start coiling the ribbon around itself, hot gluing every 2-3 inches.
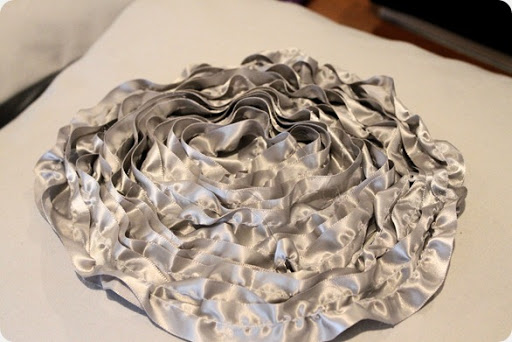
IMG_1758
To finish, tuck the end of the ribbon under another layer of ribbon and hot glue.
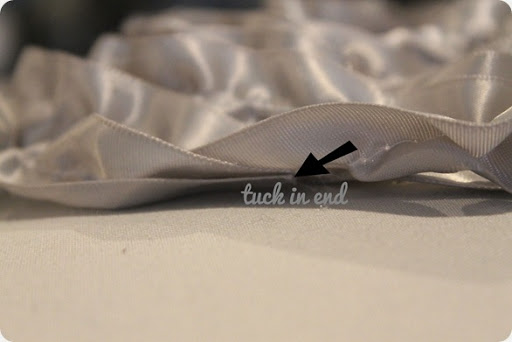
IMG_1757

And that’s it!!! Put your pillow back into the case and you have a beauty just waiting for compliments!
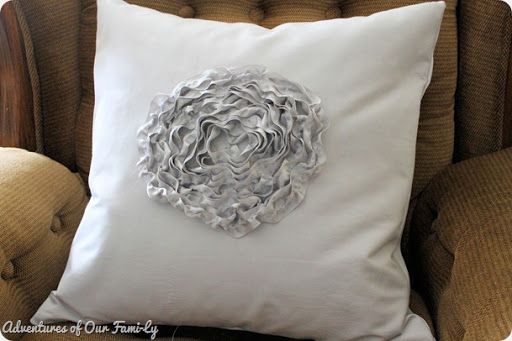
IMG_1766

Here it is again close-up:

IMG_1762

I actually made two of these. If you’re going to make two I suggest laying your finished flower case next to the once you are working on so they are relatively close in size and shape.
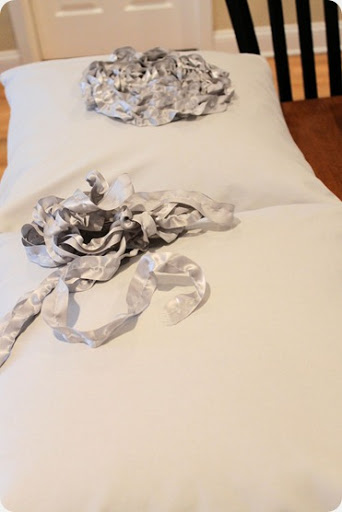
IMG_1756

A few more shots of my two new living room cuties:
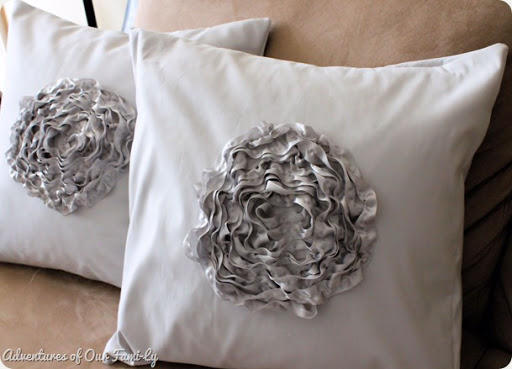
IMG_1775

I’m quite pleased with how they turned out and how they look in my living room!

Who new a little ribbon and hot glue could be so cute?
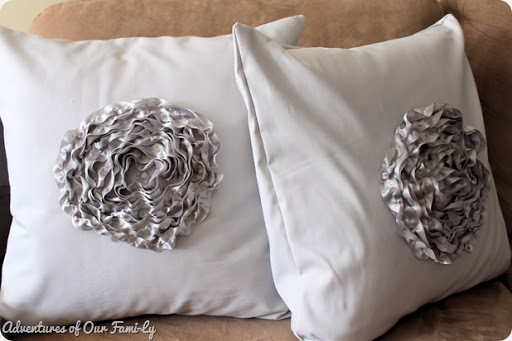
IMG_1761


Read more

The Tale of the Topless Table

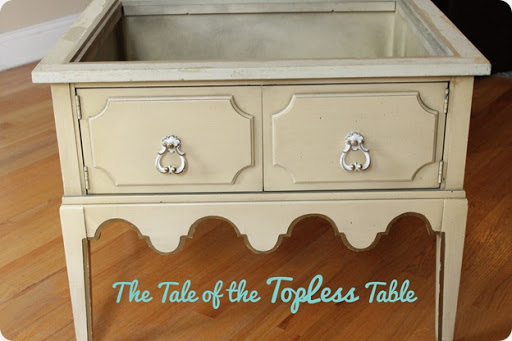
There once was a lovely, small table.  She was made of sturdy wood, had beautiful scalloped edging, and an immaculate marble inlay.  Her owners had to give her up and left her at a place called Unique Thrift Store.  She did not like being stuck in the back of the store under piles of old CD towers, towel bars, and wooden boxes.  She did not like being shoved in between old dusty lamps and tattered chairs.
Then, one day a very nice lady named Sarah came to Unique and rescued her for only $12.00!  The table was so happy to have a forever home.  Sarah was very careful to get the table into her small car without damaging the legs or the marble top.  But when Sarah got her home and into the garage a terrible thing happened!  You see, Sarah’s landlords love to keep lots of random junk in their garage—so much that it’s hard to get out of the car!  When Sarah was trying to get the lovely table out of the car she tripped on a bike pedal (that was sticking out from the pile of junk) and dropped the lovely table!  Her immaculate marble inlay smashed on the cold cement floor and was ruined!
And that is the tale of how the lovely, small table became a topless table.
IMG_1389
Ok, so that story was a bit dramatic.  I just was in the mood to write about this table differently than just a dry tutorial.  Tissue anyone?
The table above had a beautiful marble top, and as you can see it is was topless.

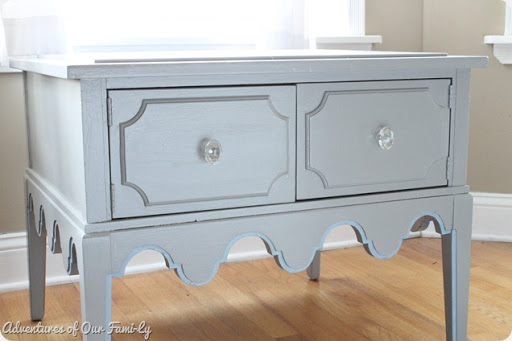
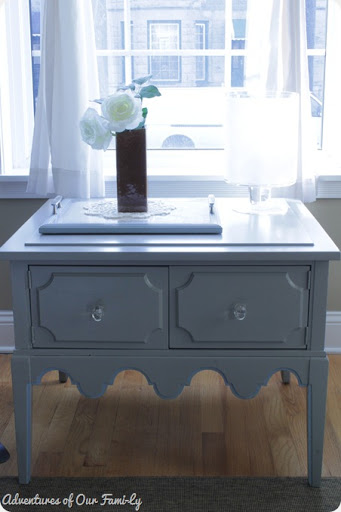
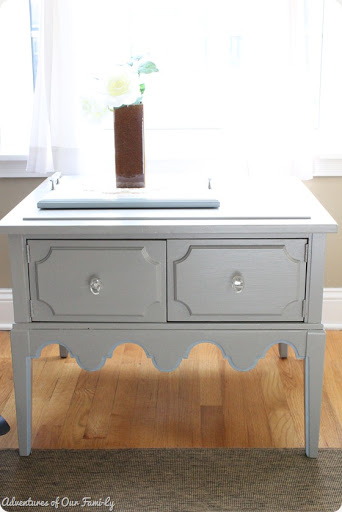
Now she looks like this:
IMG_1619
Not too shabby, huh?
Here is the tale of her journey from topless to untopless? not topless?  You get the idea.

Besides the obvious problem of having a large gaping hole in the top, this table had some other issues.  The wood was pretty scuffed up and it had lots of layers of different sticky substances.
The shots below were taken after I had sanded it and taken off the original paint job.
IMG_1390IMG_1395IMG_1396IMG_1400
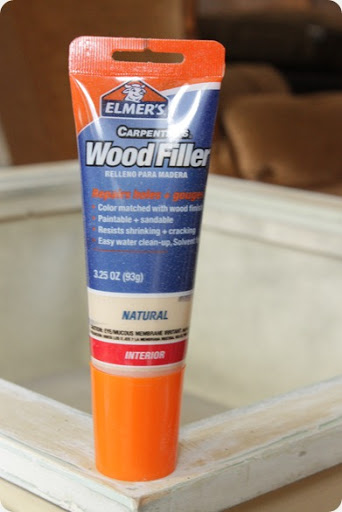
Next, it was Elmer’s Wood Filler to the rescue!
IMG_1401
I filled all the little nicks and gabs with this stuff, then sanded it down after it had dried.
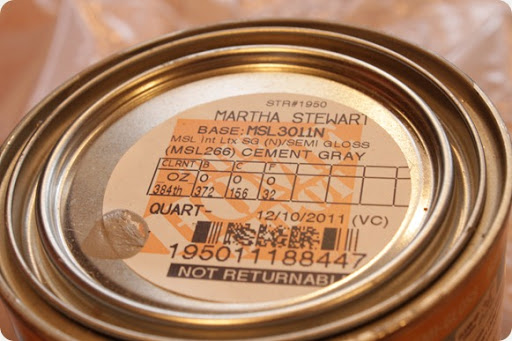
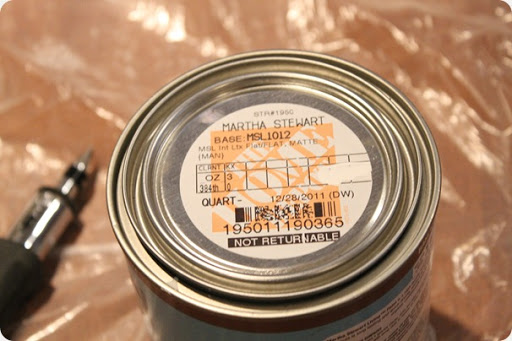
Next, it was time to paint.  I used Glidden Paint and Primer in one mixed to be Martha Stewart’s cement gray.  Did you know her paint line is being discontinued?  Her quarts are only $4.50 and gallons are $9.99.  Get to Home Depot and grab some before it’s all gone!
IMG_1403
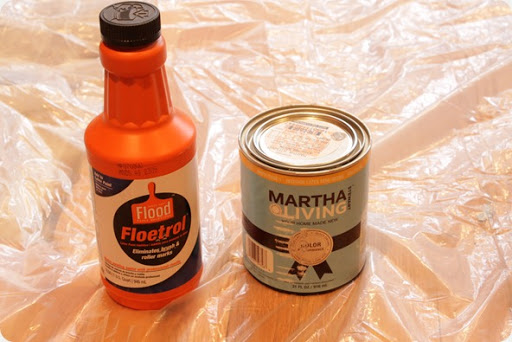
Taking tips from some other great blogs, I added Floetrol to the paint before using it. Floetrol is a paint conditioner that extends the drying time and helps eliminate brush strokes.
IMG_1402
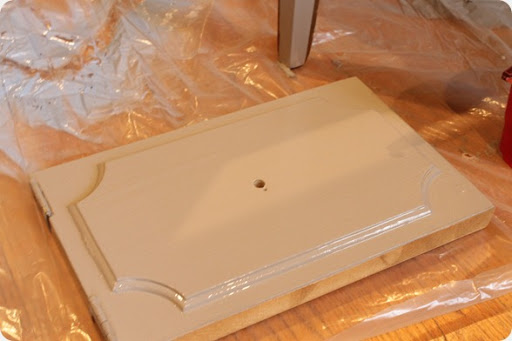
Now because the paint I used had a primer mixed in, I did not prime before painting.  I did, however, apply two nice and thick coats.
IMG_1404

Of course I removed the little doors and hardware before painting.
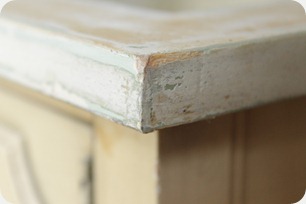
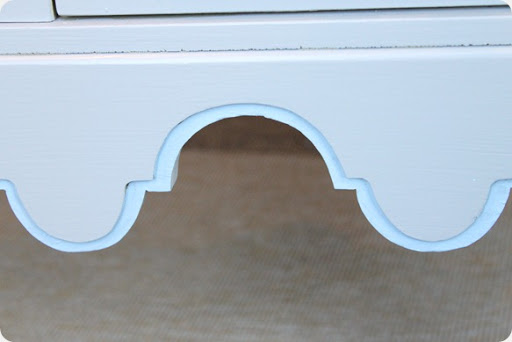
After painting the table I had to figure out what do to with the trim on the scalloped edges.  It was a dark gold color when I found it, but I didn’t like the big contrast.  I preferred a more subtle look  so I painted the edges “windsurf” by Behr.  I already had it leftover from my DIY pedestal bowl and earring holder.
IMG_1537

The last step was to add two coats of protection.  I used Minwax water based Polycrylic.  I love that it is super low odor (so I don’t have to pull out a gas mask!) and dries fast.  I was a little disappointed that the finish was a little streakier than I had hoped.  If anyone has good tips on how to fix that next time, please share!
IMG_1544
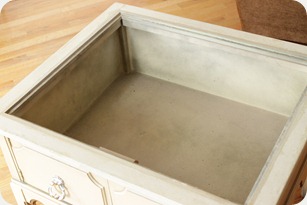
While the table was in drying mode, I turned my attention to giving it a top.  After the marble broke I decided it would be much easier, and cheaper to not and try to replace it.  Glass was another option, but again $$$$$$.  So, I decided to go with regular ‘ol MDF.  It’s cheap, it’s solid, and easily available.
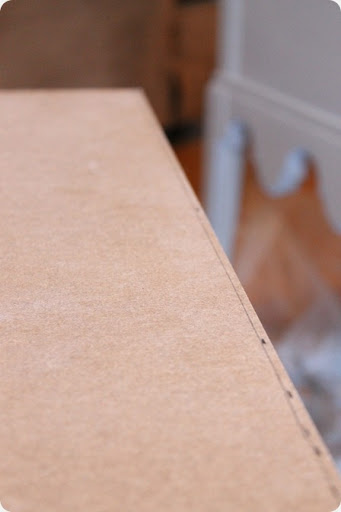
Dave and I went to Home Depot and had them cut us a piece to fit the hole.  Now we were careful to triple check our measurements before going.  We wanted the MDF to fit snugly inside so the cut had to be dead on.  And guess what? It wasn’t.  When we got home, it would not fit inside.  The worker (no names shall be used!) had not cut it completely straight or to the right  measurement.  In his defense, it was only off by 1/8ths and 1/4 of an inch, but when you’re trying to make an inlay it might as well has been feet.
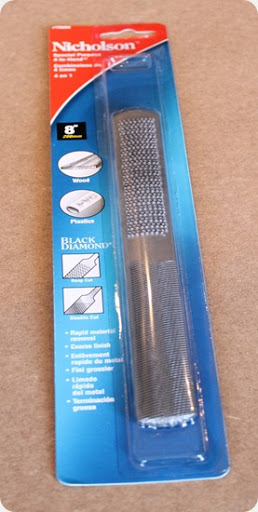
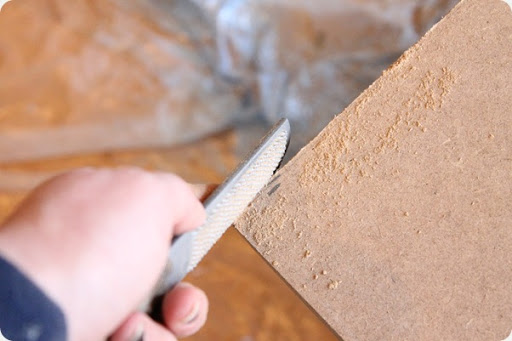
At first I thought I could just use sandpaper to sand down the edges that were too long.  Then I smartened up and realized I’d be sanding until I was 82 years old.  My sister suggested that I use a wood file and so I was off to—you guessed it—Home Depot again.
IMG_1551
I marked off on the MDF how much I needed to take off and then set off to file my life away.
IMG_1549IMG_1554
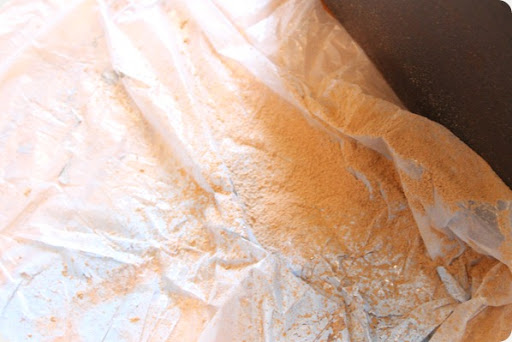
And did I mention that it made a huge mess?
IMG_1556
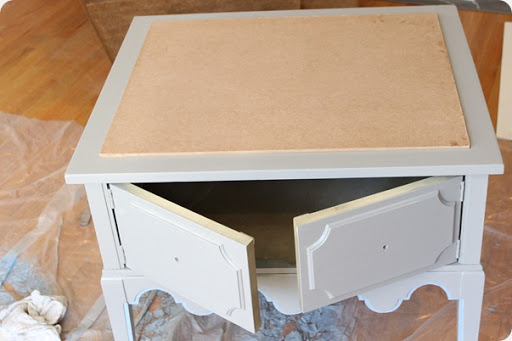
But it was worth it.  After a LONG time (let’s just say somewhere between 30 minutes and 2 hours) I finally got it to fit.
IMG_1558

                       SUCCESS!

I was so sad to have to take the top right out again so that I could prime and paint it.  I contemplated leaving it just like this.
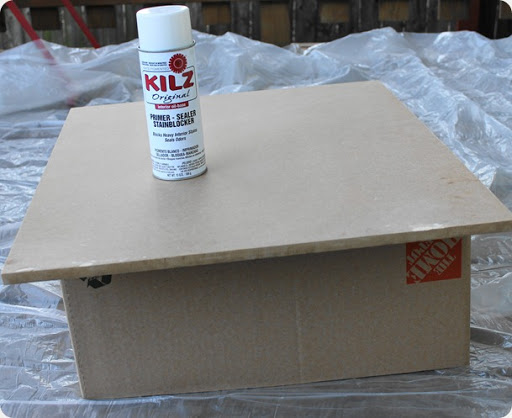
But I didn’t.  So off I went to the back porch to spray prime the MDF.  Thankfully winter has decided not to come to Chicago this year and it was 42 degrees and sunny.  In December.  Craziness!
IMG_1563

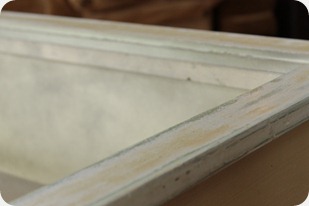
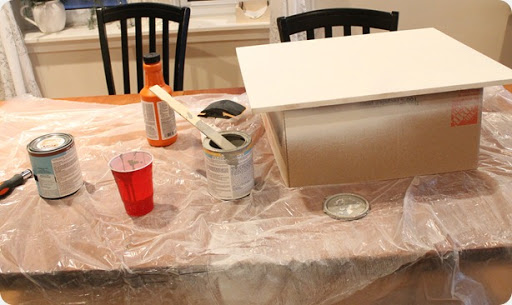
Since the new MDF inlay would not be flush with the surrounding edges (I knew that going in and liked it.  The marble was the same way) I needed to paint and prime the sides.  I used an old moving box to prop it off the ground to ensure proper coverage on the sides.
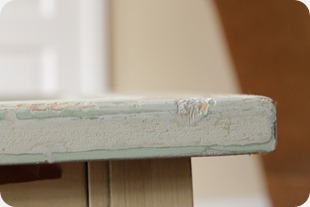
(Notice the wood filler on the edges? I got a little to rough with that filer!)
After priming it outside I brought it back in to get a paint job.  Yes, I had to use my dining room table because I didn’t want little dog paw prints on my new table top.
A girl’s gotta do what a girl’s gotta do.
IMG_1565

I used the same cement gray color but mixed it with some white paint for a subtle color change.  The white was called “lamb” by Martha Stewart (I had to take advantage of the cheap going-out-of-business-prices!)
IMG_1566
After the paint had dried I applied two coats of the same Polycrylic protective coating and……
VOILA!
IMG_1639
I switched out the hardware for some new glass oval knobs that I got off Amazon for only $2.70 each.  Oh, and notice how the doors are not exactly even with each other anymore?  Well, it turns out that the screws were as old as the table and were all stripped.  I managed to yank jerk twist pull get all off them out except for one.  It would NOT come out.  So when I put the new screws in it cause the doors to be a little off.
I’m sure in the future I can fix this, but for now, I’m ok with it. But if you can’t fix it with yourself, better to just let SpringHillRemodeling.com take care of it!
IMG_1633
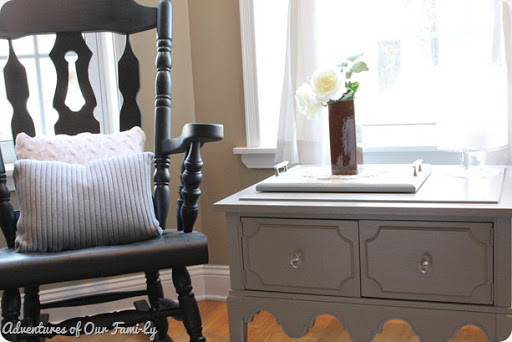
I paired the table with the rocking chair we found in the alley and fixed up.   The pillows were made from thrift store sweaters.  Super easy! Let me know if you’d like a tutorial.
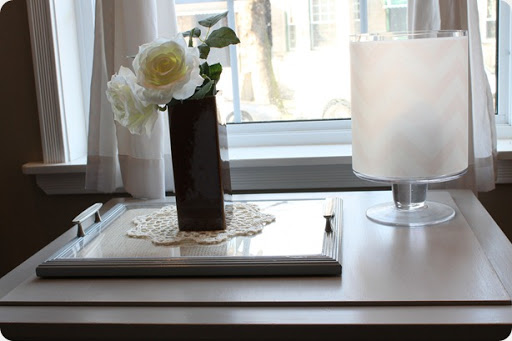
On the table is the tray I made from a picture frame, a vase from Michaels and dollar store roses.  On the right side (I know it’s hard to see-stupid backlighting) is a hurricane.  It’s been covered with chevron printed on vellum.  I’ll be posting about that later this week.
IMG_1635

IMG_1646

And that is how a lovely table went from the back corner of a thrift store to my living room floor. 

Read more

DIY chalkboard plates

Well, I certainly am on a blogging roll tonight! This is my third DIY post in the last hour of so.

Phew!
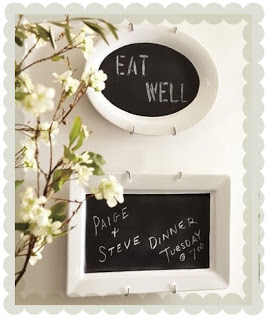
Over the past few months I’ve been seeing these all over the net:
These are sooo cute, and useful!
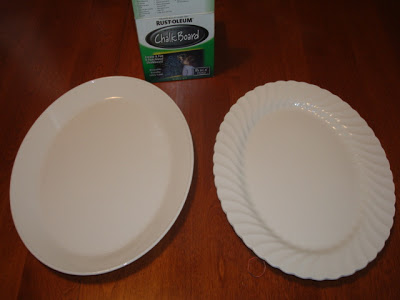
I remember that I had some chalkboard paint from a project I did, literally, 5 years ago.  I wasn’t sure if the paint would still be good, but I decided to give it a try!
For this project you will need:
-Glass platters/plates (I bought two white mismatched plates from the thrift store for $1 each)
-Chalkboard paint
-Painter’s tape
Clean the plate and remove any sticky residue left from price tages (if you get them from a thrift store like me!)
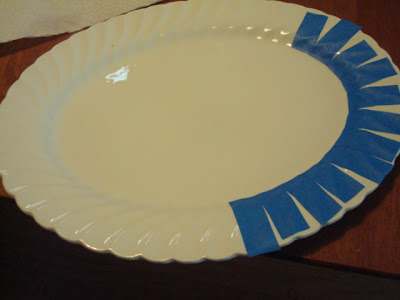
Use painter’s tape to mark off the inside edge of the plate


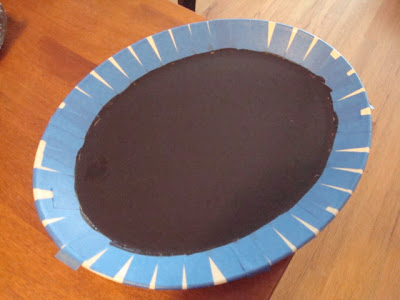
Paint the inside of the plate with chalkboard paint
In case you haven’t used chalkboard paint before, here are few things you should know:
1. Once painted you must wait 3 days before writing on it with chalk.  I know, 3 days
seems a bit excessive.
2. After you have waited forever 3 days, use a piece of chalk and cover the entire
painted surface.  Wipe away the chalk.  This will leave a chalky residue on the
paint which will make normal writing come off easier
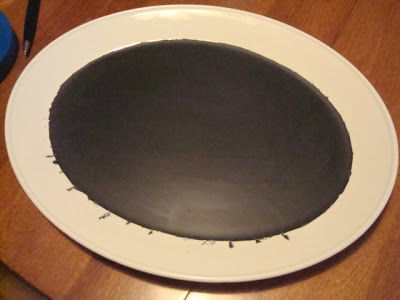
After waiting about 2 hours, remove the painters tape.  Some of the paint
seeped through my tape so I had to go back and scratch off the little streaks
you see here.

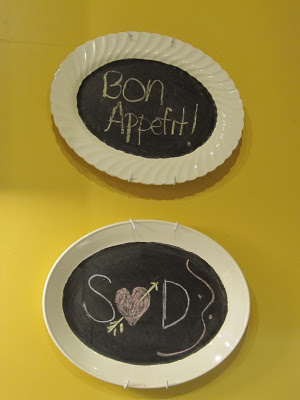
Hang anywhere you want using plate hangers or the super thrifty option found here.  I found a cozy spot for mine
next to my stove in the kitchen.


Read more