
DIY chalkboard plates
Well, I certainly am on a blogging roll tonight! This is my third DIY post in the last hour of so.
Phew!
Over the past few months I’ve been seeing these all over the net:
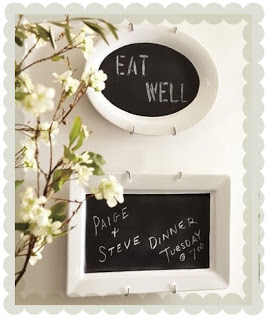
These are sooo cute, and useful!
I remember that I had some chalkboard paint from a project I did, literally, 5 years ago. I wasn’t sure if the paint would still be good, but I decided to give it a try!
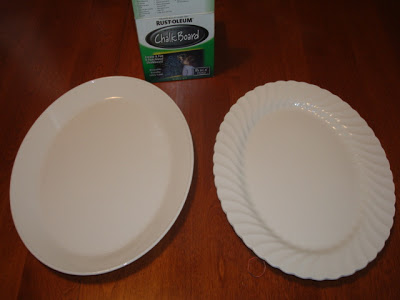
For this project you will need:
-Glass platters/plates (I bought two white mismatched plates from the thrift store for $1 each)
-Chalkboard paint
-Painter’s tape
 |
| Clean the plate and remove any sticky residue left from price tages (if you get them from a thrift store like me!) |
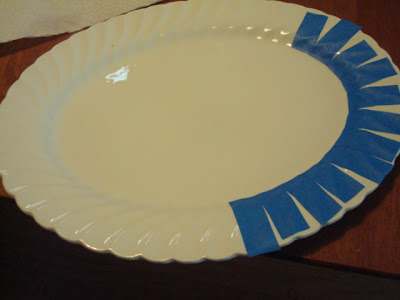 |
| Use painter’s tape to mark off the inside edge of the plate |
 |
| Paint the inside of the plate with chalkboard paint
In case you haven’t used chalkboard paint before, here are few things you should know:
1. Once painted you must wait 3 days before writing on it with chalk. I know, 3 days
seems a bit excessive.
2. After you have waited forever 3 days, use a piece of chalk and cover the entire
painted surface. Wipe away the chalk. This will leave a chalky residue on the
paint which will make normal writing come off easier
|
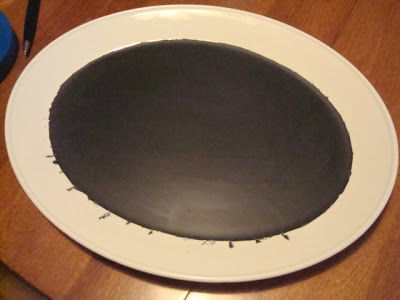 |
| After waiting about 2 hours, remove the painters tape. Some of the paint seeped through my tape so I had to go back and scratch off the little streaks you see here. 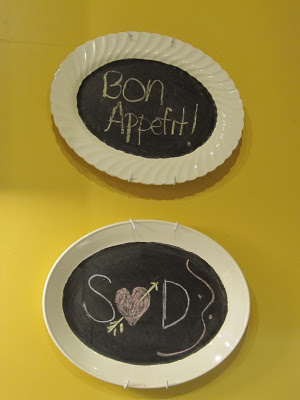 Hang anywhere you want using plate hangers or the super thrifty option found here. I found a cozy spot for mine |
Leave a Reply