Quiet Book Tutorial and Templates
Well, here are all my secrets, sources, and sewing tips from the quiet book I debuted a few weeks ago. I hope that they will be useful to you and will inspire you to create one of these books too!
I simply ask that if you use any of my original templates or ideas that you kindly link them back here, just as I’ve done with the templates that were not my own ideas. Other than that, enjoy them all!
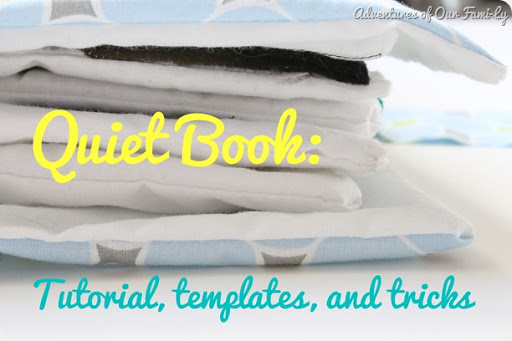
To create the quiet book page:
You will need lots of muslin. This material is super durable and easy to work with.
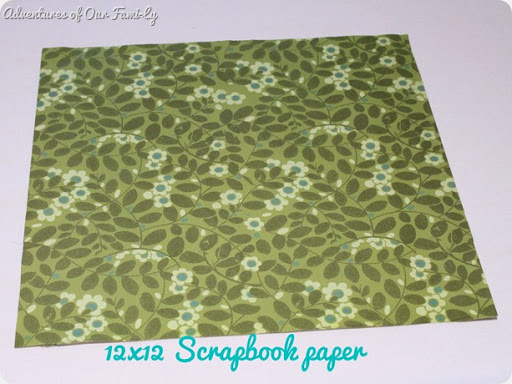
1. Decide on your desired page size and create a template. To make things easy on myself I decided to use a piece of 12×12 scrapbook paper as my template.
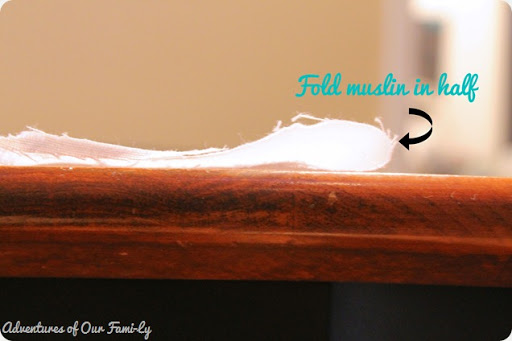
2. Fold the muslin in half so you can get two pages with just one set of cutting!
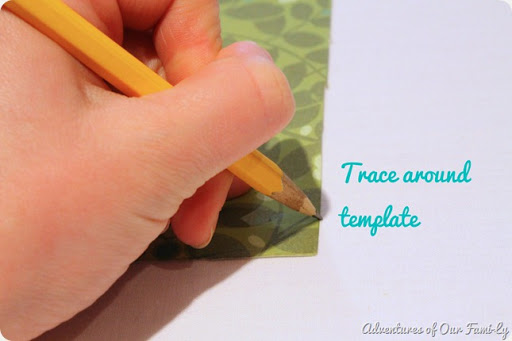
3. Trace your template onto the folded piece of muslin
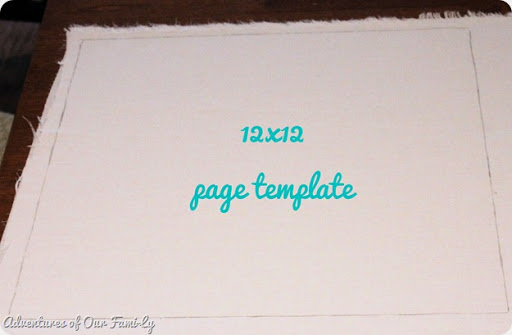
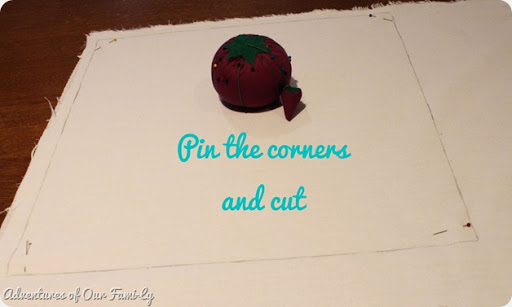
Step 4: Place pins in each of the four corners (to ensure identical size in both layers of muslin) and cut out your page. I’m not a fan of rotary cutters so I just used plain scissors.
Step 5: Decorate those pages! (Templates are below…read on). After you have sewn all of your felt shapes onto the pages you will turn two pages together, right sides facing. (sorry no pics of this!)
I also used a layer of interfacing between the pages (for extra “oomph”). If using a layer of interfacing you will need to cut it the same size of the pages (12×12 in my case.)
Step 6:
Layer the pages as shown in the *lovely* diagram below to make a little “page sandwich”:
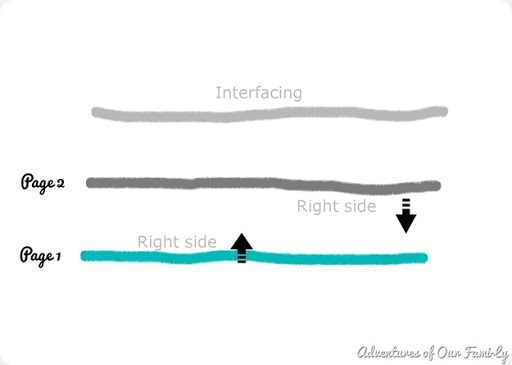
Step 7: Use LOTS of pins and pin the pages together (as shown above) Sew, using a 1/2 seam allowance around the edges of your “page sandwich”. BE SURE TO LEAVE 3 INCHES UNSEWN ON ONE SIDE!
Step 8: Use the opening you left to pull your pages through so they are facing the right way. The interfacing should now be sandwiched between the two pages (which are now facing, right sides out, away from each other).
Step 8: Hand stitch the opening closed.
Now for the fun stuff!
Here are links to templates for each page. When you click on the “Adventures of Our Fami-Ly” links you’ll end up in my Google Docs and can just print the template from there. If I used a template from another site you can click on through and print from their site.
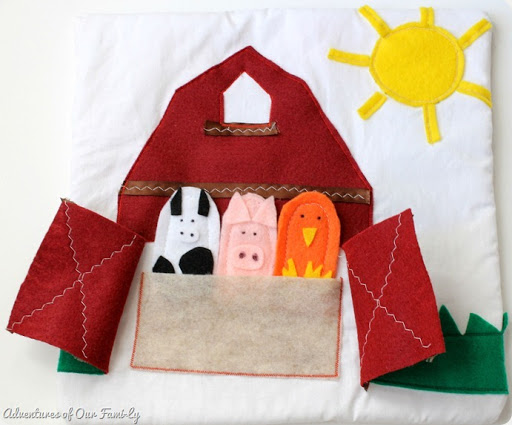
Template: Homemade by Jill
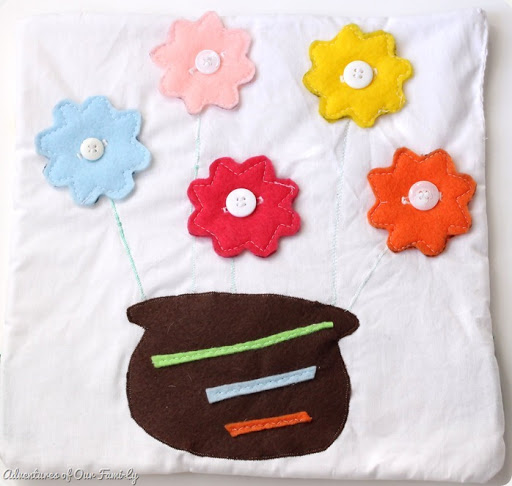
Template: Quiet Book Blog
Template: Adventures of Our Fami-Ly, Quiet Book Blog
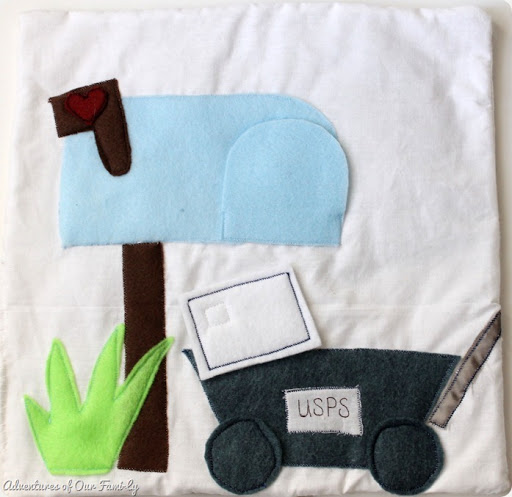
Template: Homemade by Jill, Adventures of Our Fami-Ly
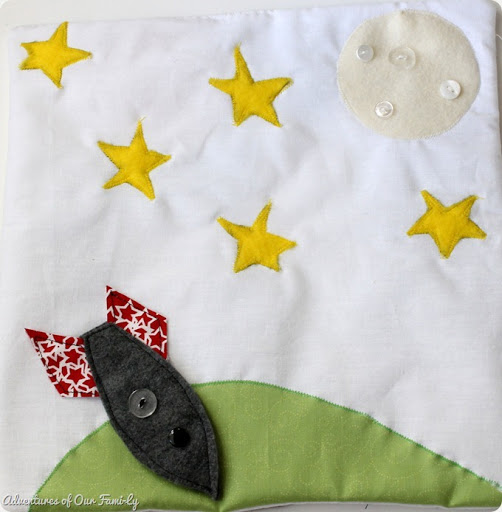
Template: Homemade by Jill
![Quiet-book-Chicago-skyline-template-[3] Quiet-book-Chicago-skyline-template-[3]](http://adventuresofourfamily.com/wp-content/uploads/Quiet-book-Chicago-skyline-template-25255B325255D_thumb.jpg)
Templates: Adventures of Our Fami-Ly (page 1), Adventures of Our Fami-Ly (page 2)
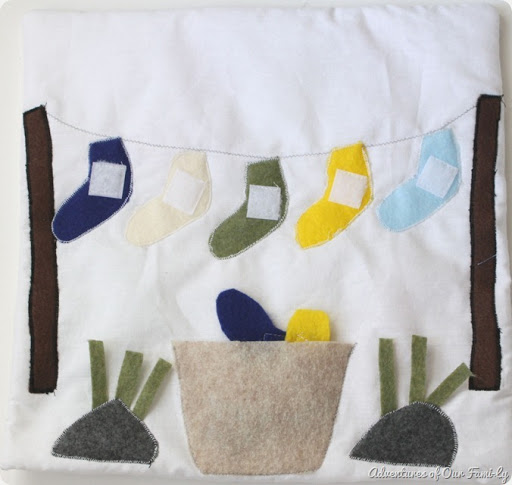
Template: Adventures of Our Fami-Ly
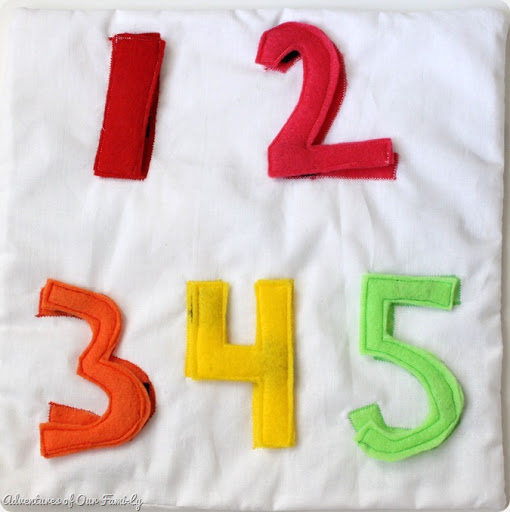
![Counting-numbers-quiet-book-page_thu[1] Counting-numbers-quiet-book-page_thu[1]](http://adventuresofourfamily.com/wp-content/uploads/Counting-numbers-quiet-book-page_thu25255B125255D_thumb.jpg)
Template: Adventures of Our Fami-Ly
![Northwestern-football-quiet-book-pag[4] Northwestern-football-quiet-book-pag[4]](http://adventuresofourfamily.com/wp-content/uploads/Northwestern-football-quiet-book-pag25255B425255D_thumb.jpg)
Template: Adventures of Our Fami-Ly
*I used binder rings to hold all the pages together. If you want to do this simply put eyelets or grommets on one side of your page. You can use a piece of notebook paper to give you a template for holes that are evenly spaced apart.*
To make the cover:
Step 1: Cut two rectangles of fabric: To find your width: (page width x 2) + the diameter of your rings + 2″ for overhang + 1″ seam allowance. To find your height: page height + 2″ for overhang + 1″ seam allowance.
Since I had lots of muslin left over I used it and a piece of printed cotton.
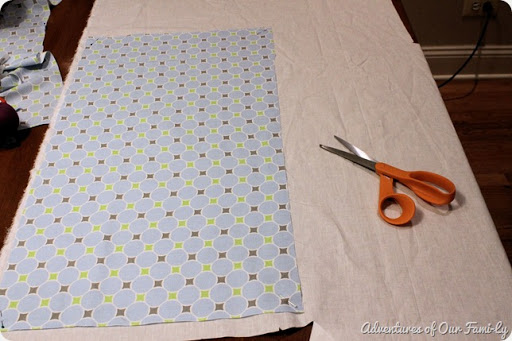
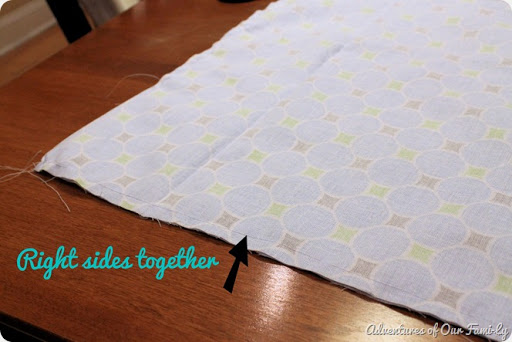
Step 2: Turn the fabric right sides facing, and sew them together using a 1/2 inch seam allowance. BE SURE TO LEAVE 3 INCHES OF FABRIC UNSEWN!
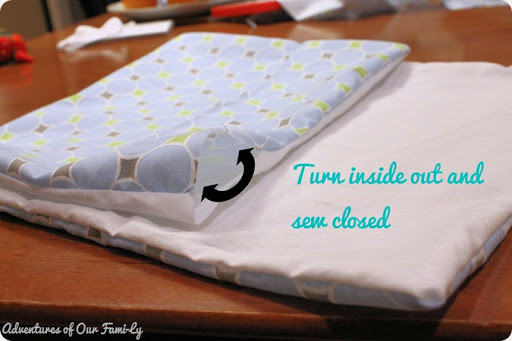
Step 3: Using the 3 inch opening, pull your fabric right sides out then hand stitch the opening closed.
Step 4: Make a strap to hold the cover closed. Cut a strip of fabric 8 inches x approximately 14 inches. (Your length will be based on the thickness of your book)
Step 5: Fold the strip of fabric in half (so it is now 4 inches) and pin the opened side.
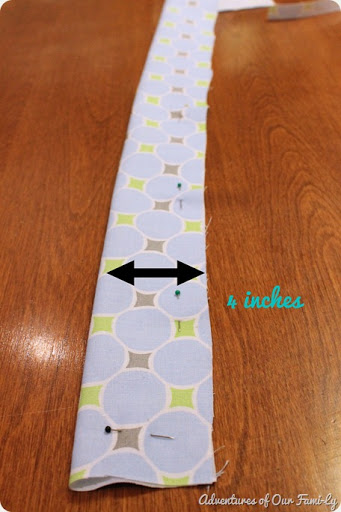
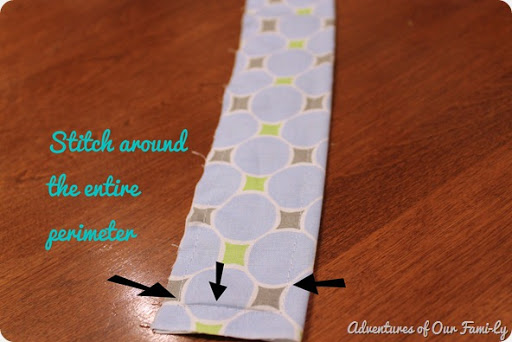
Step 6: Stitch completely around the rectangle’s perimeter using a 1/4 seam allowance.
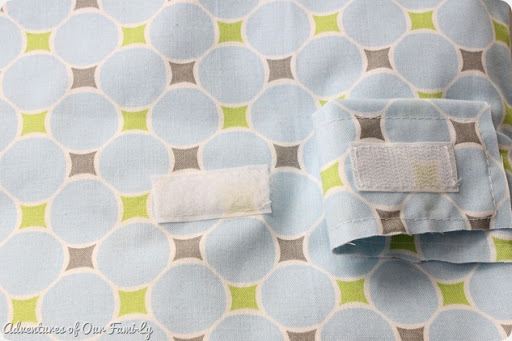
Step 7: Stitch a piece of sew-on Velcro to one end of the strap Fold your cover in half and decide where you’d like the strap to attach (this is on the front cover.) Then, sew on the other side of the Velcro in that spot.
Step 8: Place your finished pages inside the cover (this will give you an accurate placement of your strap). Attach one end of your strap to the book using the Velcro pieces you already sewed on. Then, bring the strap around the book to the back. Pin where you want the end of the strap to go.
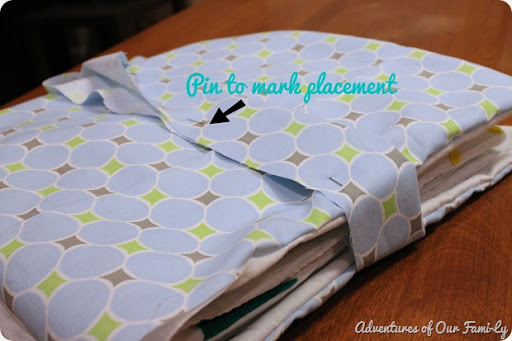
If your strap is too long (like above), just cut off the end where you placed your pin.
Step 9: Carefully take your pages out of the cover and sew the strap to the back side of the cover.
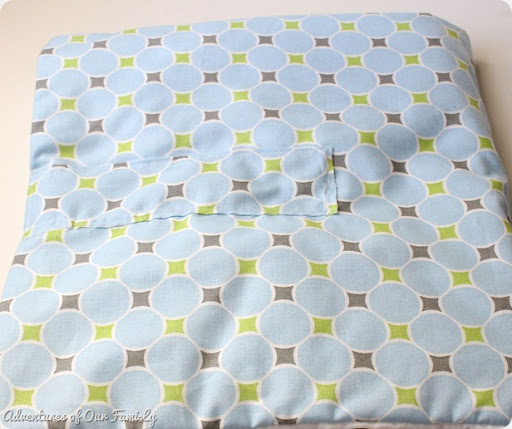
Step 10: This step is optional if you want to attach your pages with binder rings.
Open your cover flat and mark the center. Then measure half the diameter of your rings to the left and right of the center mark. Use the same template you used to mark the holes on the quiet book pages and place in your eyelets or grommets. (sorry no pictures of this step)
Well, that’s how you make a quiet book.
Plus many hours of sewing.
If you have made a quiet book, or use any of my ideas, I’d love to see them! I think these little books are so cool and a great way to teach children different skills.

Leave a Reply