DIY lens cap pouch
Hey guys! I’m sorry I’ve been a little flakey on the blog front. I want to say how appreciative I am of all your support and prayers of our news to move to Taiwan. I’ll be sharing more details this week!
But now I want to share a little project that I first mentioned when I gave my camera strap tutorial.
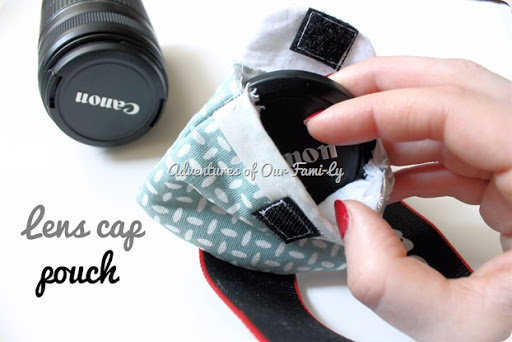
I don’t know about you but I am ALWAYS misplacing my lens cap. I sometimes spend more time looking for my lens cap than I do taking pictures.
This little pouch is a total life saver time saver and it’s not too difficult to make. There are several little steps, but each one is not complicated.
I know some of you are afraid of sewing, but if you just follow the tutorial step by step I know you can make one too!
Here’s what you’ll need:
-An outer fabric of your choice (only a small amount is needed!)
-A lining fabric
-Sew-on Velcro
-Bias tape
-Batting
-Matching thread and sewing machine
Step 1: Cut the following from your fabric
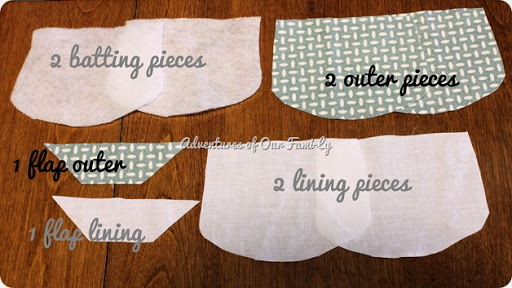
*The flap shapes in this picture I modified later on–See below.*
Step 2: Construct the two sides of the pouch but stacking your lining, batting, and outer fabric like so:
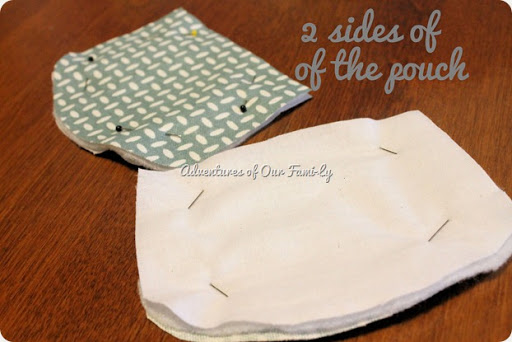
*These two sides are identical, I just turned one over to show the order the pieces.*
Step 3: Cut two strips of your outer fabric to make the piece that will attach the pouch to the camera strap. It’s length should be the width of your camera strap + 1/2 inch (give or take) and the width about 1 1/2 inches.
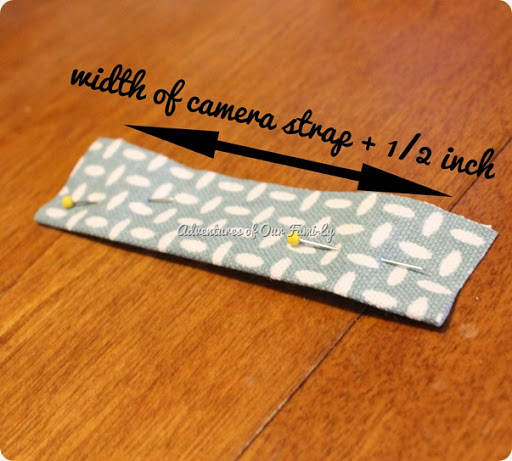
Step 4: Place right sides of the fabric together and sew both long ends, making a tube. Then, turn the tube right side out (I had to use the end of a seam ripper to to it).
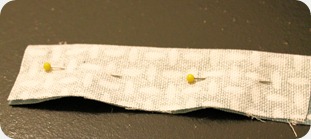
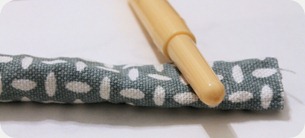
Step 5: Pin your tube to one of the pouch sides using your camera strap as a guide. Place pins on either side of your camera strap, this is where you will sew.
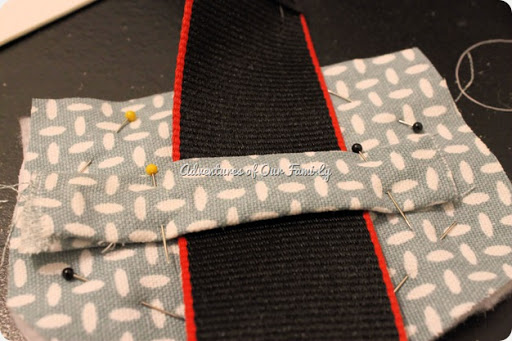
Step 6: Take out the camera strap and sew where your pins are, securing the tube to one side of the pouch.
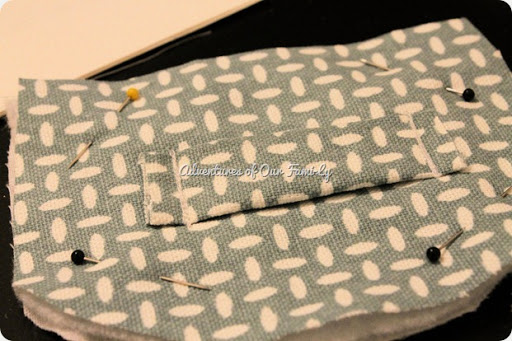
Step 7: Construct the closing flap by first sewing a piece of Velcro to the lining piece. Then sew the lining to the outer fabric piece (right sides together) and turn inside out.
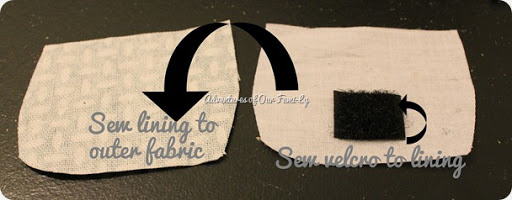
*See how I changed the shape of the table from the pictures in step 1? This shape works better!*
Step 8: Pin on the flap and then sew the flap onto the pouch side where you just sewed your tube.
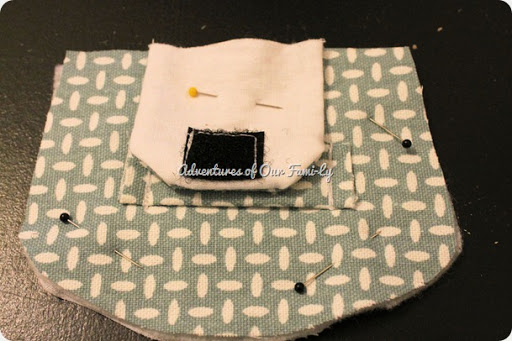
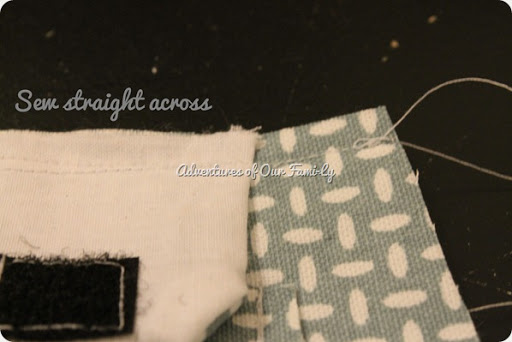
Step 9: Take the other pouch side (the one you haven’t done anything to yet) and sew a piece of bias tape across the top.
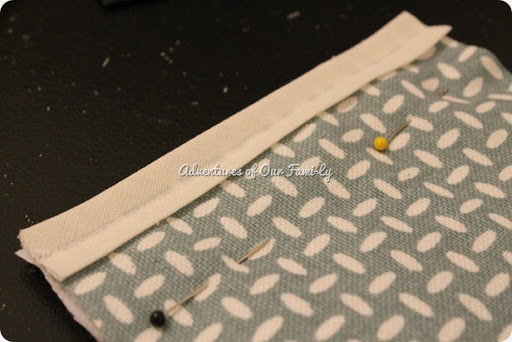
Step 10: Sew the other side of your Velcro in the middle of the pouch side, right under the bias tape. *Tip: lay the two pouch sides together and pull the flap over to see where you should place the other piece of Velcro—you obviously want them to match up*
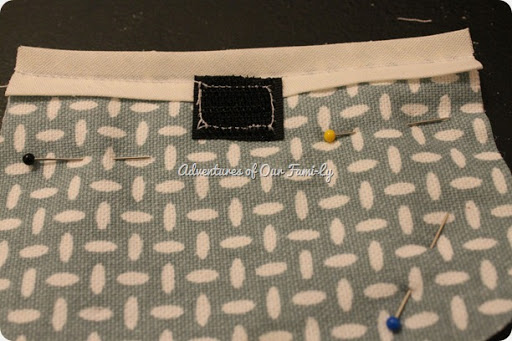
Step 11: Now your two pouch sides have all their bells and whistles so you just need to sew them together! Place the two sides right side together, stitch around the outside, and turn inside out. Your pouch is done!
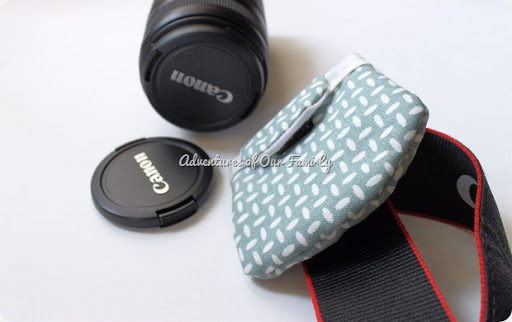
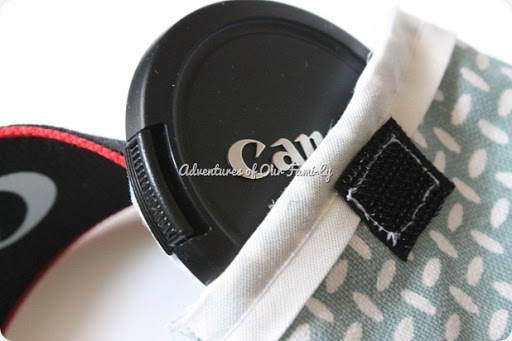
Slip your camera strap through the back of the pouch and you’re all set! Never lose your lens cap again!

Leave a Reply to Jamesmub Cancel